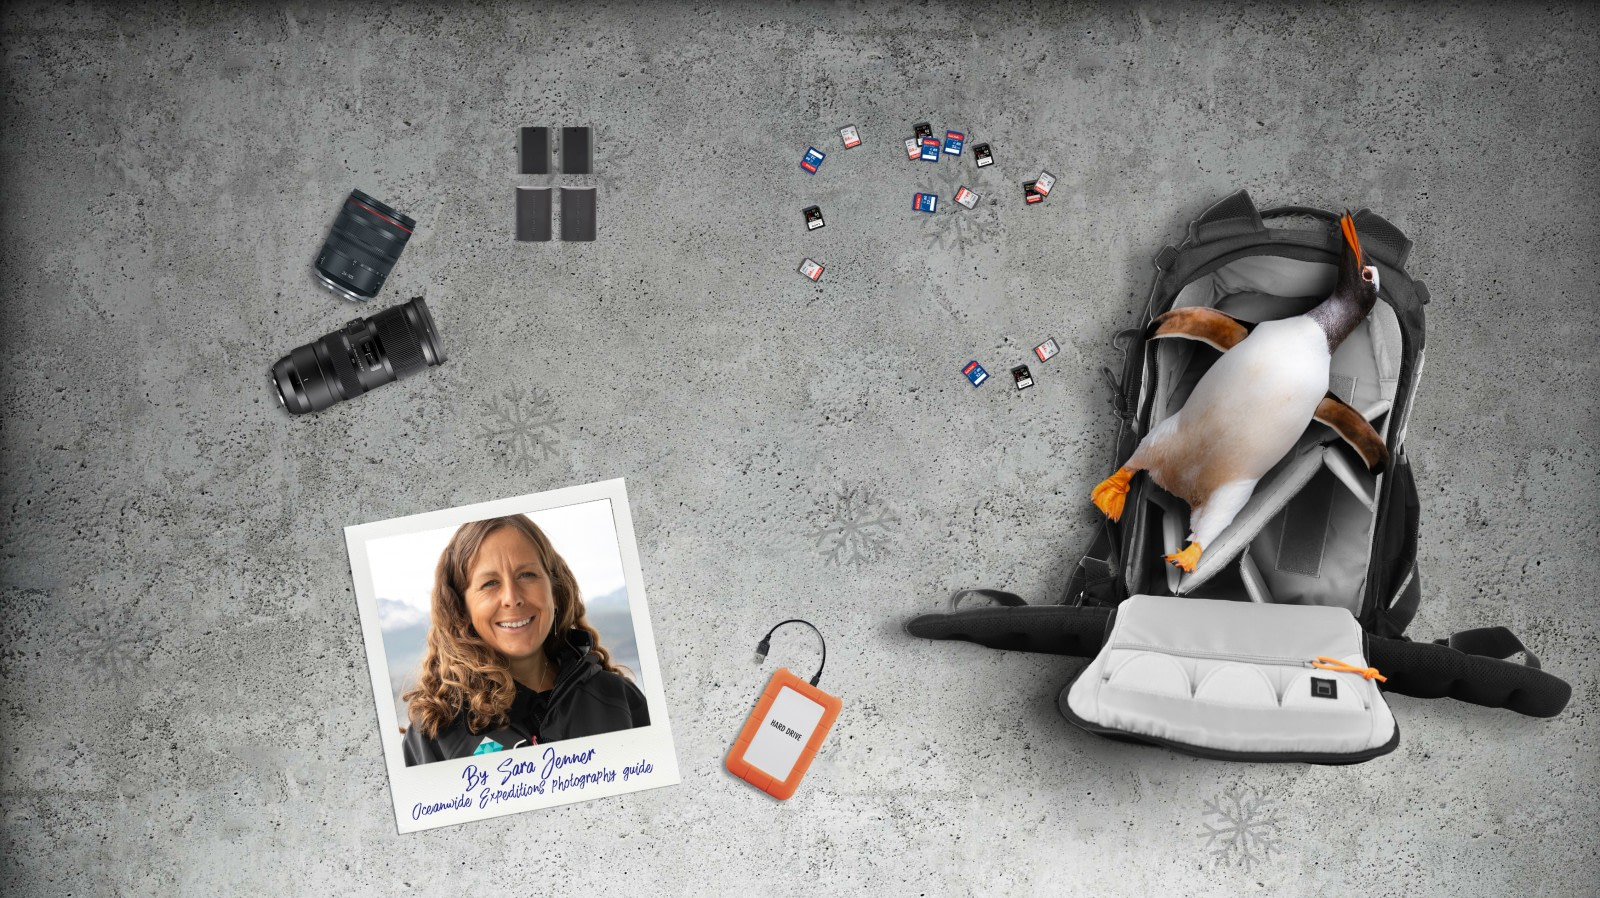
One of the most common questions I get asked before a cruise is, “What photography equipment should I bring?” It’s a broad question, and answers vary based on the individual. There are, however, a few key pointers that apply to almost everyone.
First and foremost, the best camera to bring is the one you’re best at using.
These are once-in-a-lifetime trips. Your hours should be spent enjoying exotic wildlife and amazing landscapes, not fretting over camera settings. Too often guests live their entire trip through their screens, missing the magic in front of them to take photos that can’t capture that magic anyway.
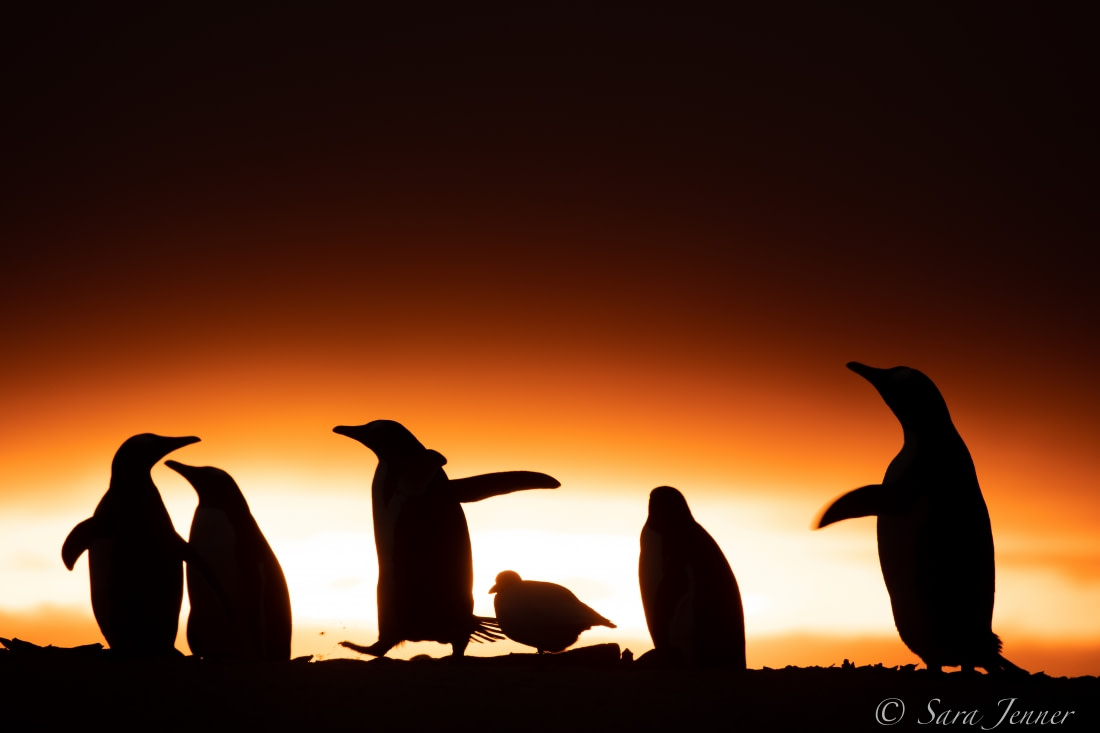
So with that most important tip aside, below are my top 10 packing recommendations…
1. Bring at least two cameras
This might seem excessive to non-photographers, but bring at least two devices that take images. These could be two pro DSLR bodies, a compact camera with a small action camera, or even something as simple as two phones.
Technology has the habit of failing at the most inconvenient times. The last thing you want is to be without the means of capturing pictures if your main device gets lost or broken.
2. Include different lens options
The details will depend on whether you’re taking camera bodies with interchangeable lenses, a compact camera, or a smart phone. But ideally, you want the ability to take a mixture of wide angle landscape shots as well as closeups of wildlife and people.
Not much beats the quality and sharpness of an individual prime lens, but when you are faced with rough seas, adverse weather, and other guests in the Zodiac, it can be difficult to change a lens safely without getting moisture on your sensor and lens element. Packing two versatile zoom lenses will not only help keep your equipment safe, it will offer more versatility when you have rapidly changing conditions.
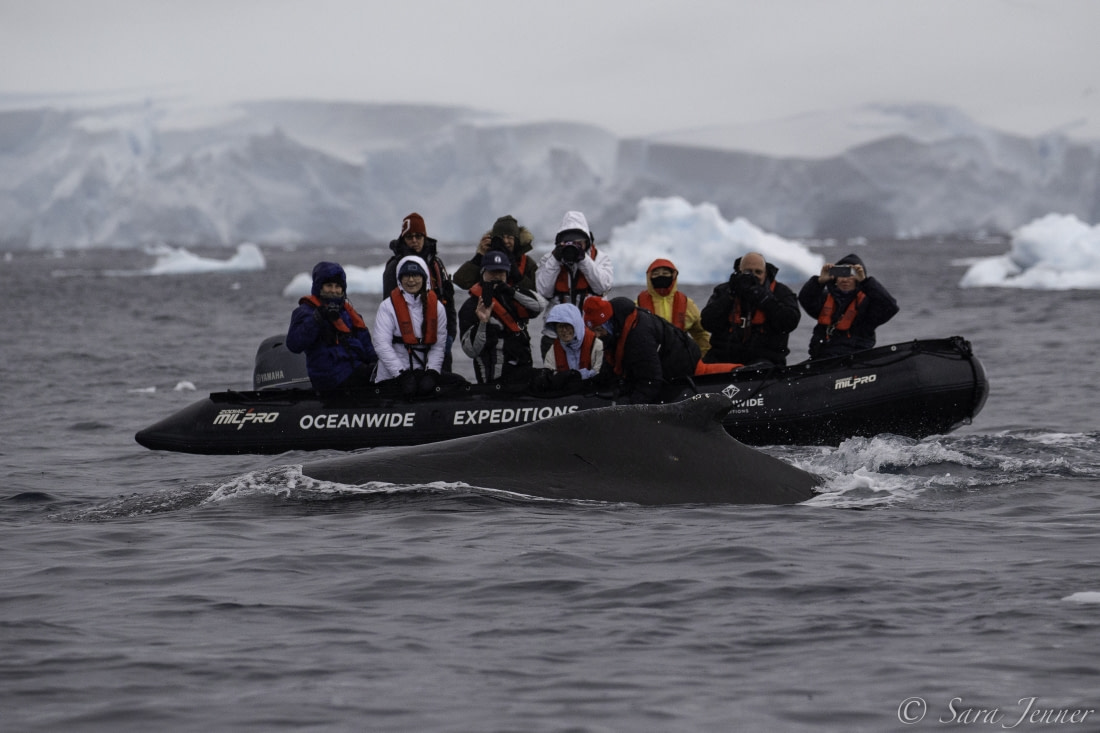
I suggest looking at two zoom lenses in the 24-70 or 24-105 range, paired with a 70-300 or 100-400, depending on which camera brand you use. A little extra length can go a long way, so if you’re able to bring something as big as 100-500 or 150-600, it may come in handy. If you’re keen to pack a third lens, I suggest a 16-35 or any wide-angle prime. The ultra-wide lenses give a greater dramatic view of the vast landscapes in the polar regions.
My phone is never far away, however, for catching those candid moments between guests or making a short video to capture a particular situation. Versatility is paramount.
3. Don’t forget memory space
Everyone’s memory needs will vary greatly depending on the quantity and resolution of images they take. However, I cannot stress enough how important it is to bring backup cards. If you think you have enough memory cards, pack a couple more.
Personally, I favour bringing several 32GB or 64GB cards instead of one larger card. If your one big card gets lost or corrupt, you have no other options, whereas having numerous smaller cards offers you the security of multiple backups.
It is a good habit to place any extra cards you have in different pockets around your clothing and bags. I must admit, on numerous occasions I’ve gone ashore, lifted my camera to take a photo, and realised I’ve left my memory card in my laptop.
4. Pack spare batteries
Cold conditions can drain batteries quickly, so I tend to keep a couple of spares in my jacket or somewhere close to my body. The heat keeps them warm and helps with unwanted discharge.
You can sometimes purchase third-party batteries for a fraction of the cost of your original batteries, and they are often just as good. Just be sure to read the reviews carefully before buying any non-OEM (original equipment manufacturer) equipment.
5. Will you need a tripod?
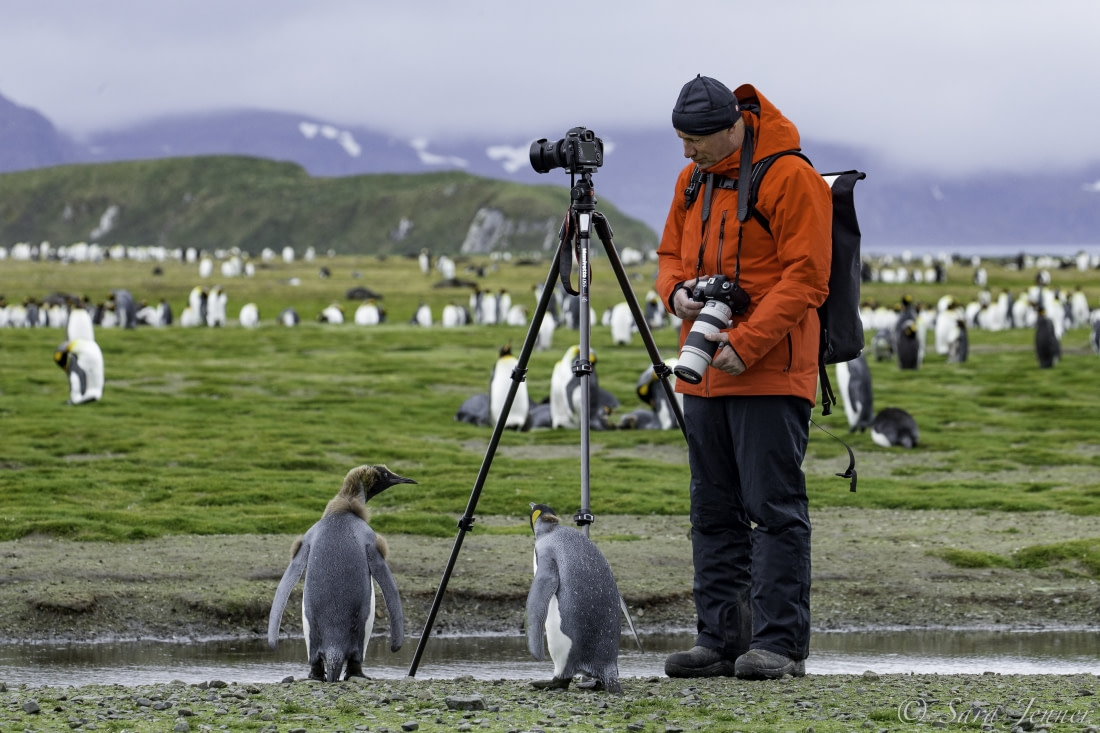
This depends on what type of photography you hope to take. I rarely use a tripod, but I know many professional photographers who wouldn’t dream of going ashore without one.
Unless you’re filming high-quality video, creating time lapses, doing long exposures or incredibly high-resolution bracketed photos to merge in post-processing, you probably won’t need a tripod. The lighting in the Arctic and Antarctica is almost always good enough for shutter speeds that do not require a tripod. Furthermore, carrying tripods in a Zodiac or in deep snow can be a real bother.
But if you feel you would like to take one, it’s best to look for a small travel tripod – or if your budget allows, an ultra-lightweight carbon fibre one. Another option would be to take a monopod. This is a lighter, more compact alternative that works in most situations.
Please remember, though, tripods and monopods also pose bio-security risks and must be thoroughly cleaned before and after each landing.
6. Get a waterproof camera bag
The type and size of camera bag you use is also a personal preference, and there are countless styles and brands to choose from today. However, I would highly recommend picking one that is waterproof, or at the very least, water repellent.
The other option is to use the camera bag you already own and simply find a dry sack it can fit in. The weather is highly changeable in the polar regions, and Zodiac rides can get very wet, so don’t risk losing your camera equipment to rain or saltwater.
It’s also worth packing some zip lock bags, as they’re perfect for protecting camera equipment. If you place your camera in the bag and zip it up fully while you’re outside, the camera will warm up at its own speed after your return. This reduces the chance of condensation build-up in your equipment.
7. Remember cleaning gear
Inevitably, your camera lens will get water droplets on it. I bring at least half a dozen micro fibre cloths with me, so I always have a dry one at hand. I also recommend alcohol wipes to remove any saltwater residue, along with a lens pen and dust blower. These items can be purchased cheaply and may save you hours of work later on.
8. Consider your filters
There are a few different types of filters you can pack, depending on what kind of photography you want to do. The first is a UV filter, which acts as a protection for your lens. Another is a circular polarising filter (CPL filter), which can help with managing challenging light conditions.
CPL filters are used to block unwanted reflections of light, add more colour saturation, and sharpen distant focal points like icebergs or mountains. However, not knowing how to use a CPL filter properly can be more of a hinderance than an advantage.
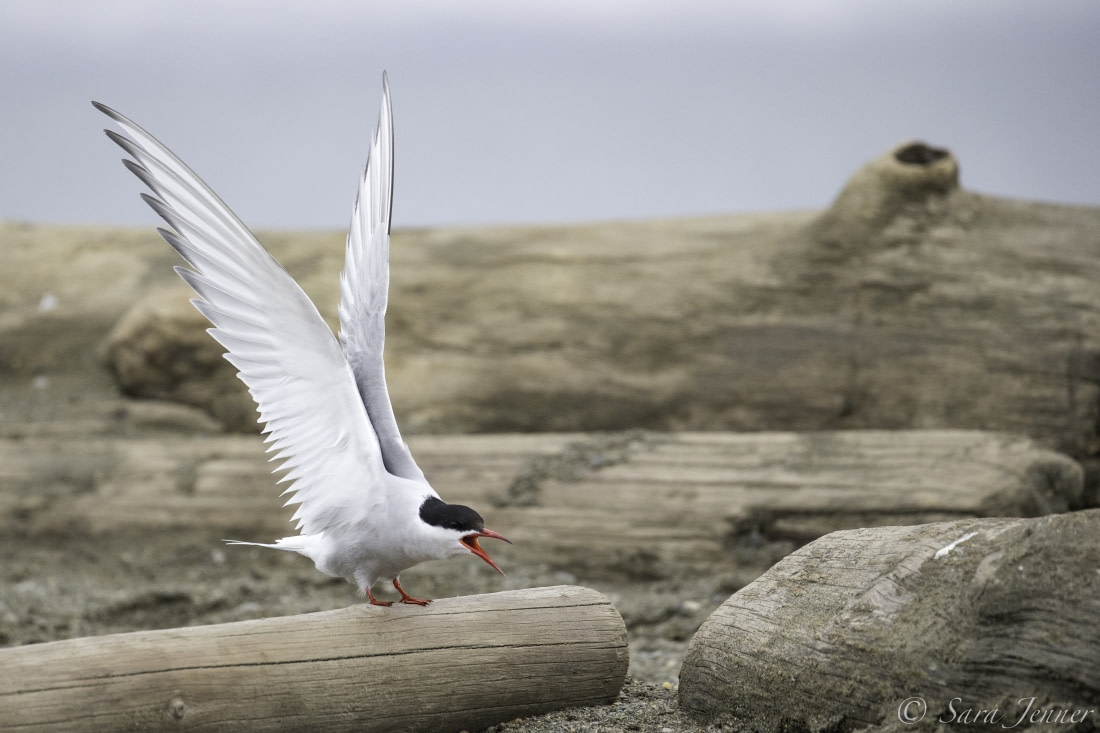
For example, you will lose about two f-stops of light with a CPL filter, so this needs to be accounted for in your other settings. Furthermore, it is best to put the filter on your lens outside the ship so condensation doesn’t build up between the lens and filter. Make sure to do your homework on CPL usage and invest in a good quality one.
If you are hoping to do more creative photography, a neutral density filter (ND filter) could also prove useful. ND Filters are aimed to reduce the amount of light that enters the lens, allowing you to select combinations of aperture, exposure time, and sensor sensitivity that would otherwise produce overexposed pictures. Their uses are very specific so only worth adding to your packing list if you have particular photographic aims.
9. Find the right gloves
Don’t underestimate how cold your hands can get in the polar regions, especially if you need to take off your gloves or mittens every time you want to take a photo. It is wise to take at least one pair of gloves you can wear while operating your camera.
These might come in the form of a thin pair of gloves you can wear underneath your thicker waterproof gloves. If your budget allows, there are also gloves designed specifically for photographers working in cold environments.
10. Breathe easy with back-up storage
Having personally felt the pain of losing several years’ worth of images, I can’t stress enough the importance of backing up your pictures – not once, but at least twice whilst you are travelling. And a third time when you get home. You can’t back up too many times.
I always travel with my laptop and back up on two separate external hard drives after every landing, allowing me to format my cards each day. If travelling with a laptop isn’t possible, you can use the passenger computer on board the ship to transfer images to your external hard drive. This might prove time consuming, however, if you must wait while other guests are using it.
Bringing a small laptop, tablet, or even a phone with a decent amount of storage is the preferred option, as this will allow you to do a little sorting and preliminary editing on board. It is also important to keep your backups in different places in case your luggage gets lost or stolen.
Finally, when you get back to a secure and reliable Wi-Fi connection, back up your photos to another hard drive or cloud for total peace of mind. Your cruise experience is more important than the photos you take, but that doesn’t mean you want to lose them.
Blog


The Ancient Fossil Forests of Antarctica
Birds of the South: 33 Antarctic Birds and Seabirds

Around Spitsbergen vs. North Spitsbergen

Arctic vs. Antarctica: A Traveler’s Guide

Polar bear encounter in Spitsbergen
Danger Beneath the Water: 10 Facts About Leopard Seals
Eight Antarctic Misconceptions
The Impact of Small vs. Large Cruise Ships
Life in the Polar Regions
What the ice reveals about Antarctica
15 Falkland Islands Bird Photos
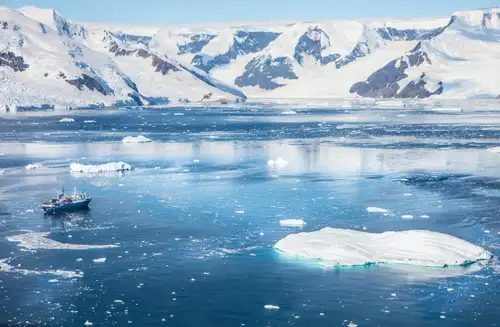
The first race to the South Pole in 50 years
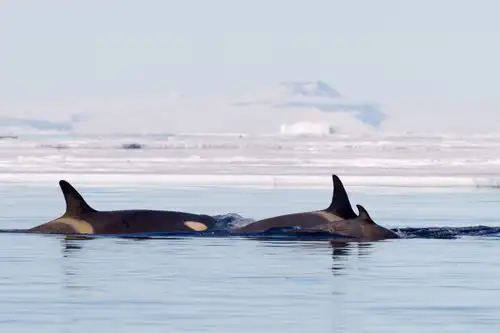
Antarctica’s first Marine Protected Area

Large and in Charge: Antarctica’s Southern Elephant Seals
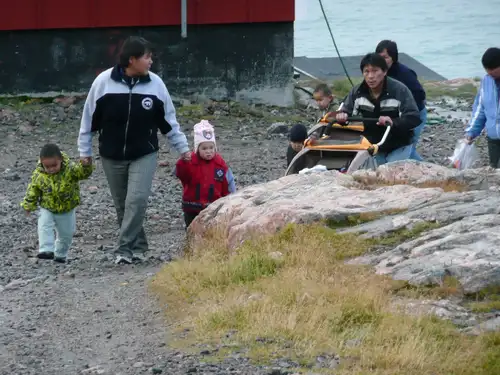
Greenlandic Inuit Beliefs
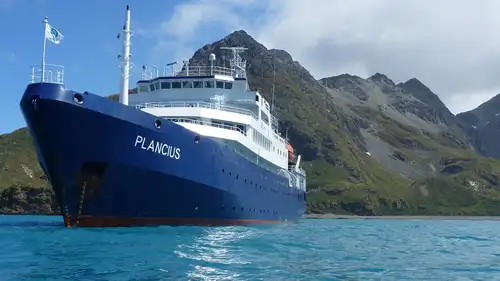
A Day on m/v Plancius

Book Recommendations for Your Polar Cruise

The First Overwintering Hut in Antarctica

The Eight Great Penguin Species of Antarctica


